A video on YouTube
After eight months of hard work, Digital-Ink, an online creative writing software, is in beta. I think it would be good to crown this milestone with a screencast on YouTube. This video should lower the threshold for potential users to try out the software themselves. I want to briefly explain the most important ideas and concepts for the prospect. And so I start step 1, making a video on YouTube, without having any idea of the steps I still have to take afterwards.
Step 1: Scenario
In the video I want to explain how Digital-Ink distinguishes itself from its competitors. This means: telling that you can not only write your novel with it, but also that it is a place to capture ideas and to write individual scenes, and how this relates to writing a novel.
So I write my story, first in outline, and then work it out further, down to the level of text that must be spoken during the screencast. I read the text out loud once, take breaks where I will perform actions in the screencast, to arrive at an estimate of how long the video will last: a little over thirteen minutes. Not bad.
Step 2: Test data
I want my film to appeal to the imagination by telling a coherent story and showing recognizable images. My first idea is to show the functionality of the application using a book made into a film; then I can use the pictures of the actors as profile pictures of the characters and I copy parts from the book. Nicely recognisable. Until at some point I think: is that allowed, from a copyright perspective?
Nope.
I ended up using my own writing and took photos from the 'public domain', but it took a lot of time to find suitable images.
Step 3: Technique
This is my first YouTube video and I need to look into software that allows you to record a screencast. After some searching on the internet, OBS Studio seems to be a suitable candidate. The warning that I come across in various comparative articles that OBS is complicated seems exaggerated to me in retrospect. After watching one or two videos for beginners, I have a pretty good idea of how it works. And the program has fantastic possibilities because you can easily combine different image and sound sources.
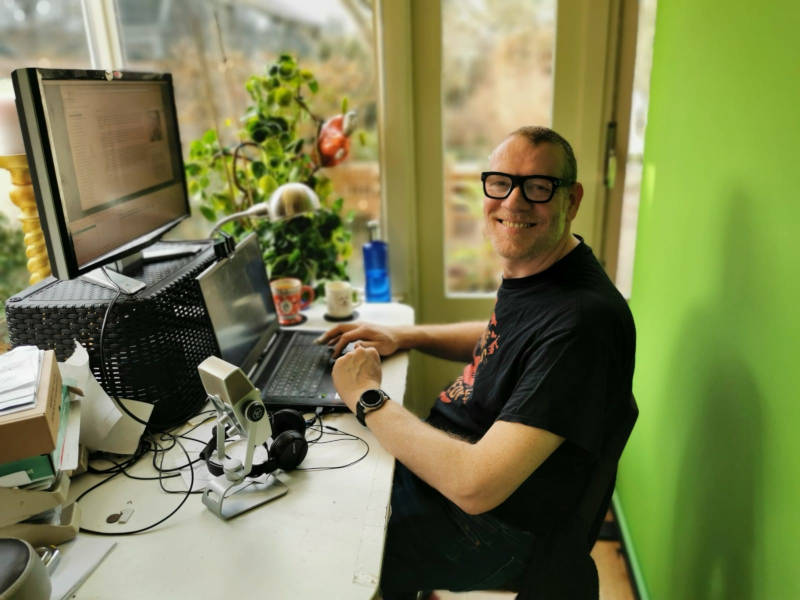
Step 4: Recording day
At the beginning and end of the video I want to appear on screen during a general introduction and an outro, where the content of my screen is not important. I hang a white cloth behind me to prevent the background from being too distracting. The webcam built into my laptop appears to be of poor quality: the resolution is too low, as is the number of frames per second it can transmit (10 FPS). I decide to place the webcam image small in the bottom right corner so that these limitations are less noticeable.
I have connected a second monitor to my laptop and the OBS preview is set to it. OBS records my browser window and not my entire laptop screen, so I can occasionally peek into my scenario and unobtrusively copy texts into the video from the second screen. You set the shortcut keys in OBS yourself and they are indispensable. The program captures (almost) all key combinations, even if you do not have the OBS window active. Very handy! But you have to be careful that a key combination has no meaning in the screen that you have active.
I make the recordings in small steps. I notice that the pause button is a great invention, but it only works well in the parts where you are not on screen. If I make a mistake too many times in a recording, I redo the entire scene. My text is also refined a little with every take. At the end I edit everything together with OpenShot, a simple video editor. The result of a whole day of recording is over thirteen minutes of video. Now quickly upload the result to YouTube, as a private video, and ask my girlfriend if she wants to take a critical look at it.
Iterations
Her comment: the sound is much too soft, the cloth behind me doesn’t look good, the sound is not lip-synchronous when I am on screen, I stutter too much and I have to try to remain businesslike (in other words: don’t act popular). But the content is otherwise good.
The fact that the sound is not lip-synchronous appears to be because the number of frames per second (FPS) of recording is not equal to the number of FPS of the end result. There isn’t much I can do about that now. To increase the volume, I import and edit the audio in the program Audacity and cut out some popular sayings of mine. I export the result as an MP3 file that I import back into OpenShot. I upload the updated result to YouTube and watch it again myself. It’s better, but still not good enough.
I order a green screen and a better webcam and when they arrive, I will shoot the video again.
On the second day of shooting I only redo the first and last scenes with the green screen. The green background screen is transparent in the end result and therefore OBS allows you to show any background you want in your video. I decide not to be too extravagant and just let the browser screen shine through.
The result is much better, but the sound on the second day is of a different quality than on the first day due to different settings. I am unable to sufficiently eliminate the differences with Audacity.
On the third day of shooting I shoot all the other scenes again. The sound is good now. Most of my slips of the tongue are also gone and the video makes a consistent impression. After a few more rounds of video editing, the duration was shortened slightly. Version 10 passes quality control and I’m making this version public on YouTube. After almost 80 hours of hard work, my 12-minute video is finished. I hope that next time, based on my experiences of the past few days, it will go a lot faster.
The end result can be seen here (It’s spoken in Dutch with English subtitles available).
Lessons learned
-
Rehearse and refine your text: keep it to the point
-
Take your time for each step in the process
-
Respect copyrights for the images and sounds you use in your video. If necessary, use a paid stock photo site.
-
Make sure you have the right equipment: good microphone, webcam, second monitor. And if you appear on screen: a green screen.
-
Use the same microphone and settings for consistent sound quality throughout your production.
-
Be critical. Preferably have an independent third party, e.g. a colleague who is not involved in production, assess whether the result is sufficient.